
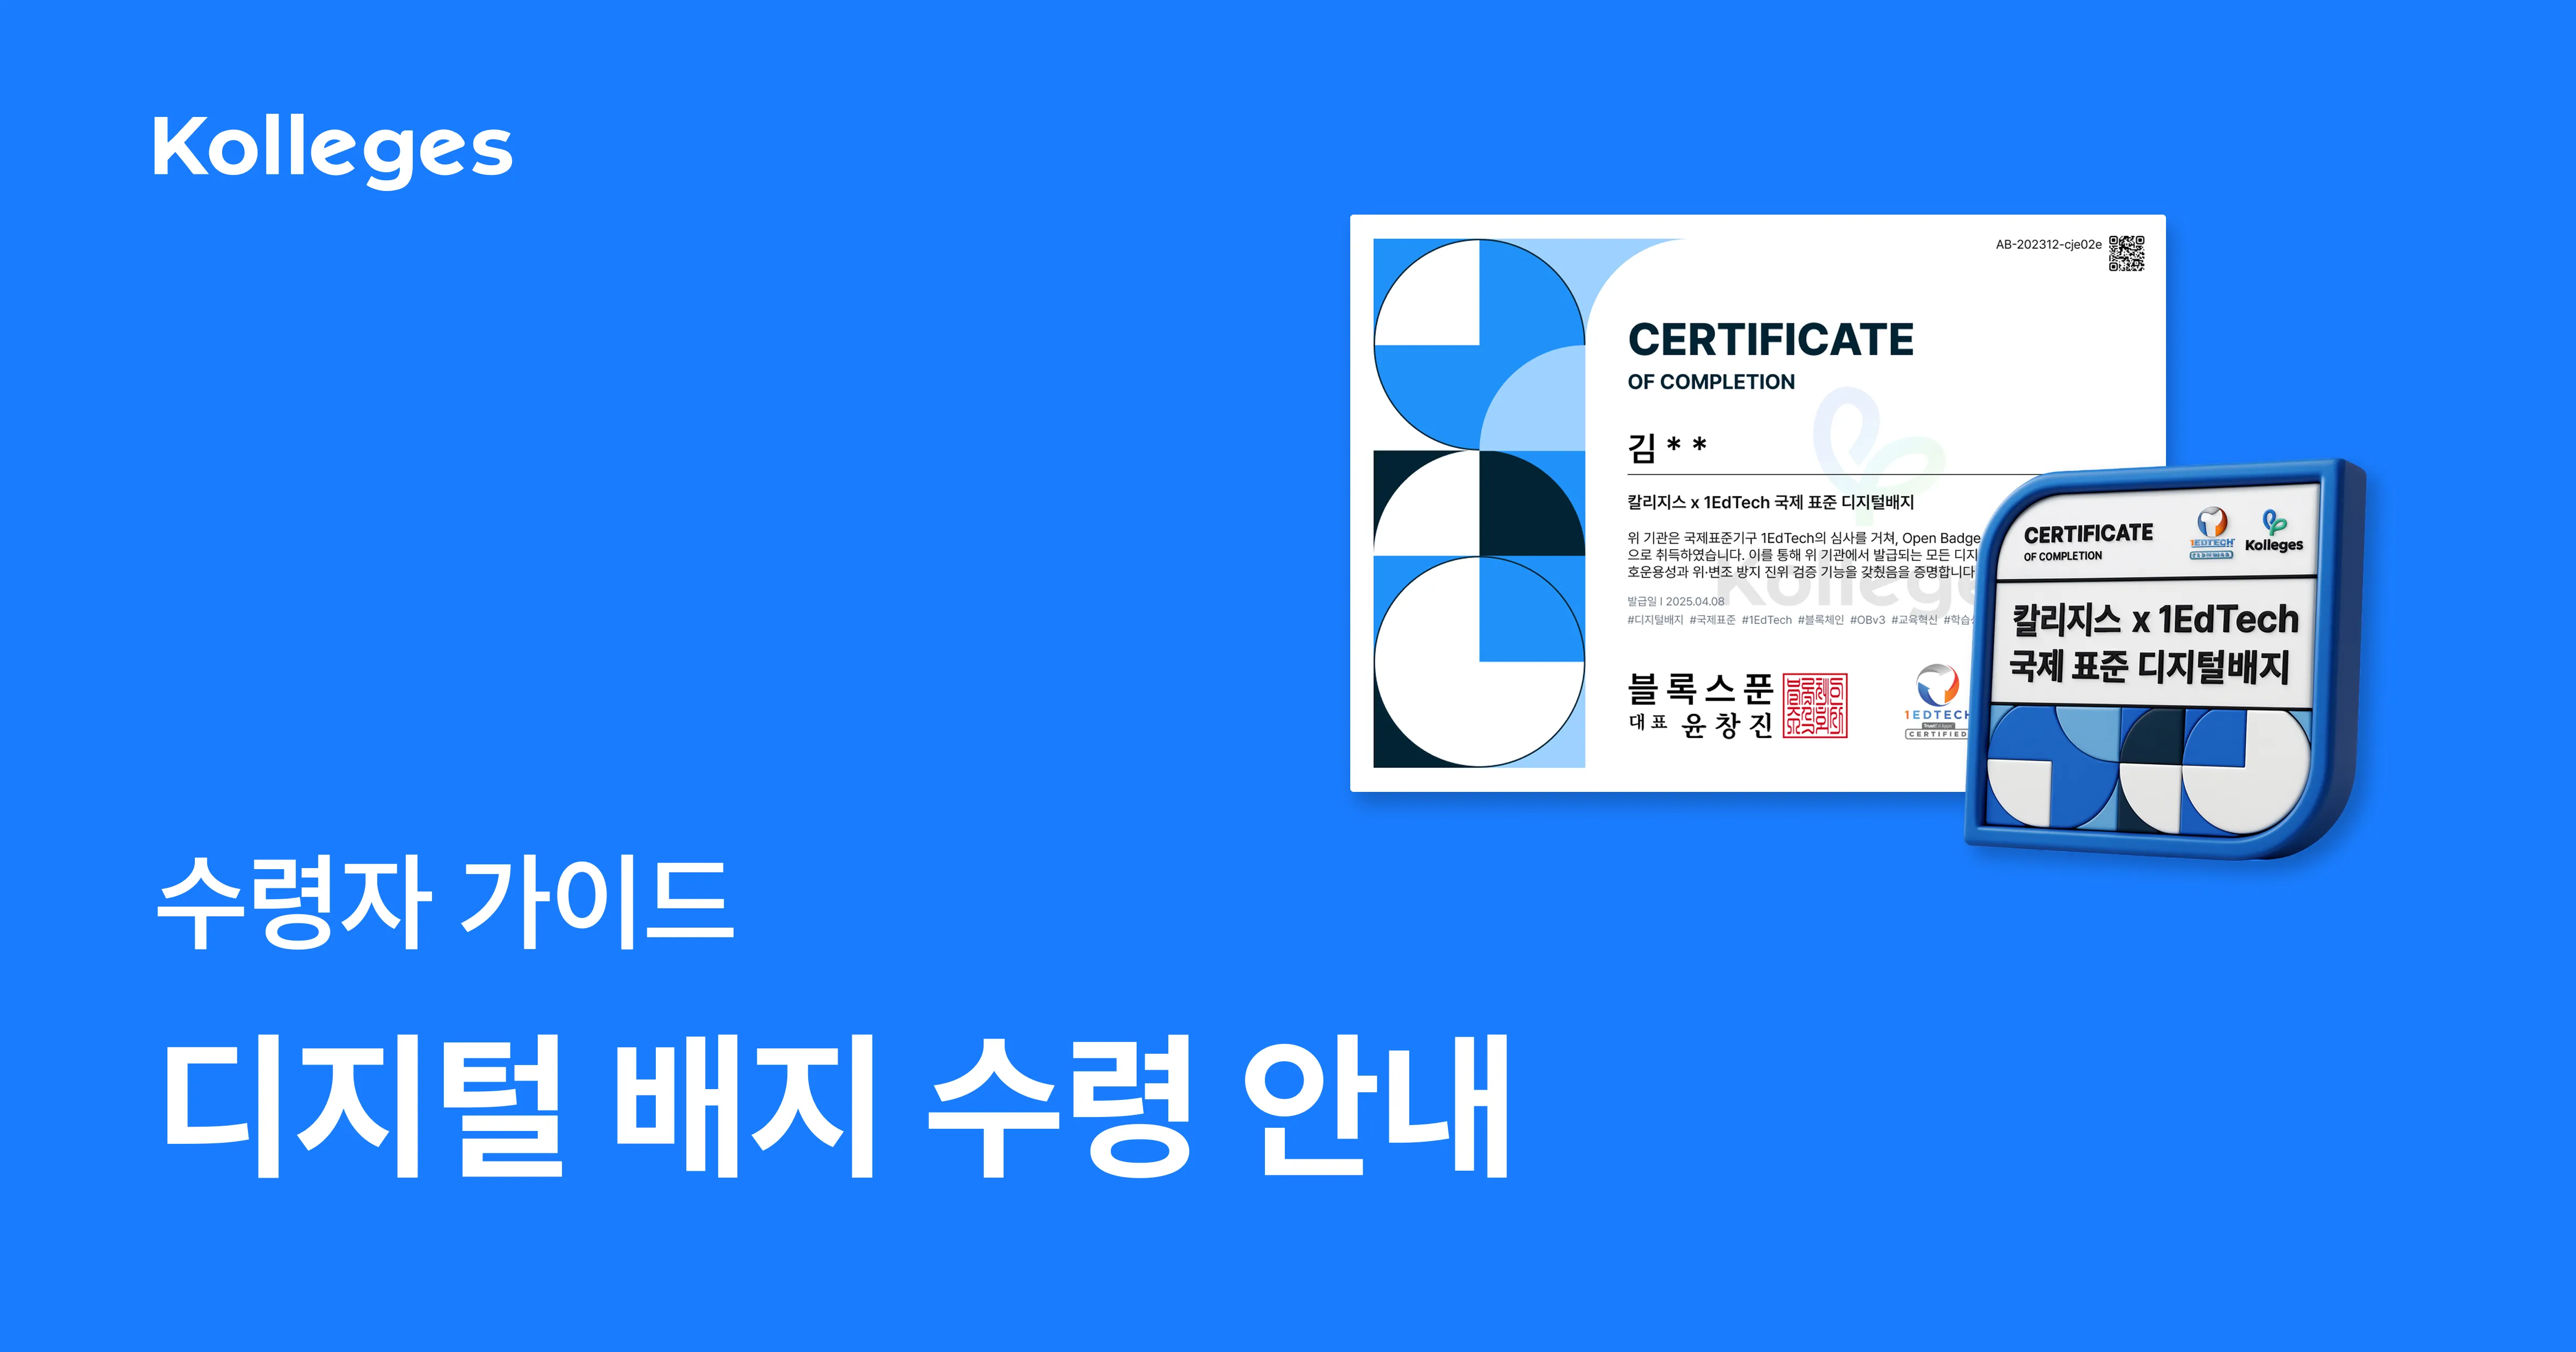
Press [Receive] in the email or [View certificate] in the KakaoTalk notification message, then complete identity verification, and your digital badge is stored permanently in your wallet. It takes about a minute.
Key points Press [Receive] in the email or [View certificate] in the KakaoTalk notification message, then complete identity verification, and your digital badge is stored permanently in your wallet. It takes about a minute.
A digital badge is an international standard (Open Badges 3.0) certificate that proves educational and activity achievements in a form that cannot be forged or altered. When an issuer issues a badge, a notice email or a KakaoTalk notification message arrives. This document guides anyone receiving a badge for the first time through the process, from the moment the notice arrives to storing the badge in your wallet.
Before you start
- You need the issuance notice email or the KakaoTalk notification message sent by the issuer.
- A certificate issued to a mobile number goes through identity verification with KakaoTalk simple verification.
Receiving the certificate
A certificate is received simply by pressing the button in the issuance notice email or the KakaoTalk notification message and completing identity verification. The steps are as follows.
-
Press the [Receive] button in the issuance notice email. It takes you to the certificate lookup screen.
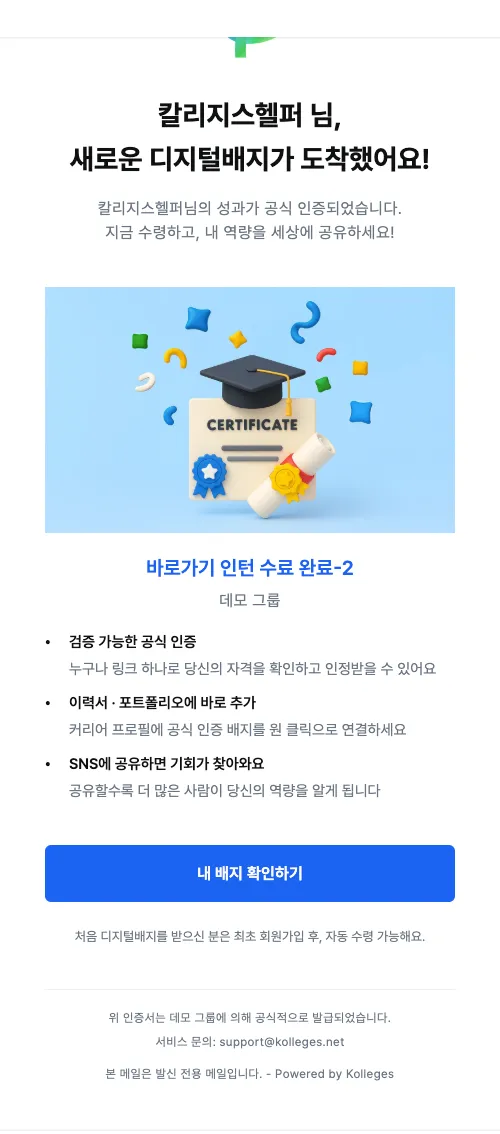
Tip: If you received it via a KakaoTalk notification message, pressing the [View certificate] button takes you to the same screen.
-
A certificate issued to a mobile number requires identity verification. Press the [Verify your identity and receive your certificate] button.
-
Press the [KakaoTalk simple verification] button, then follow the popup instructions to complete verification.
[Screenshot: KakaoTalk simple verification popup - verification request screen]
-
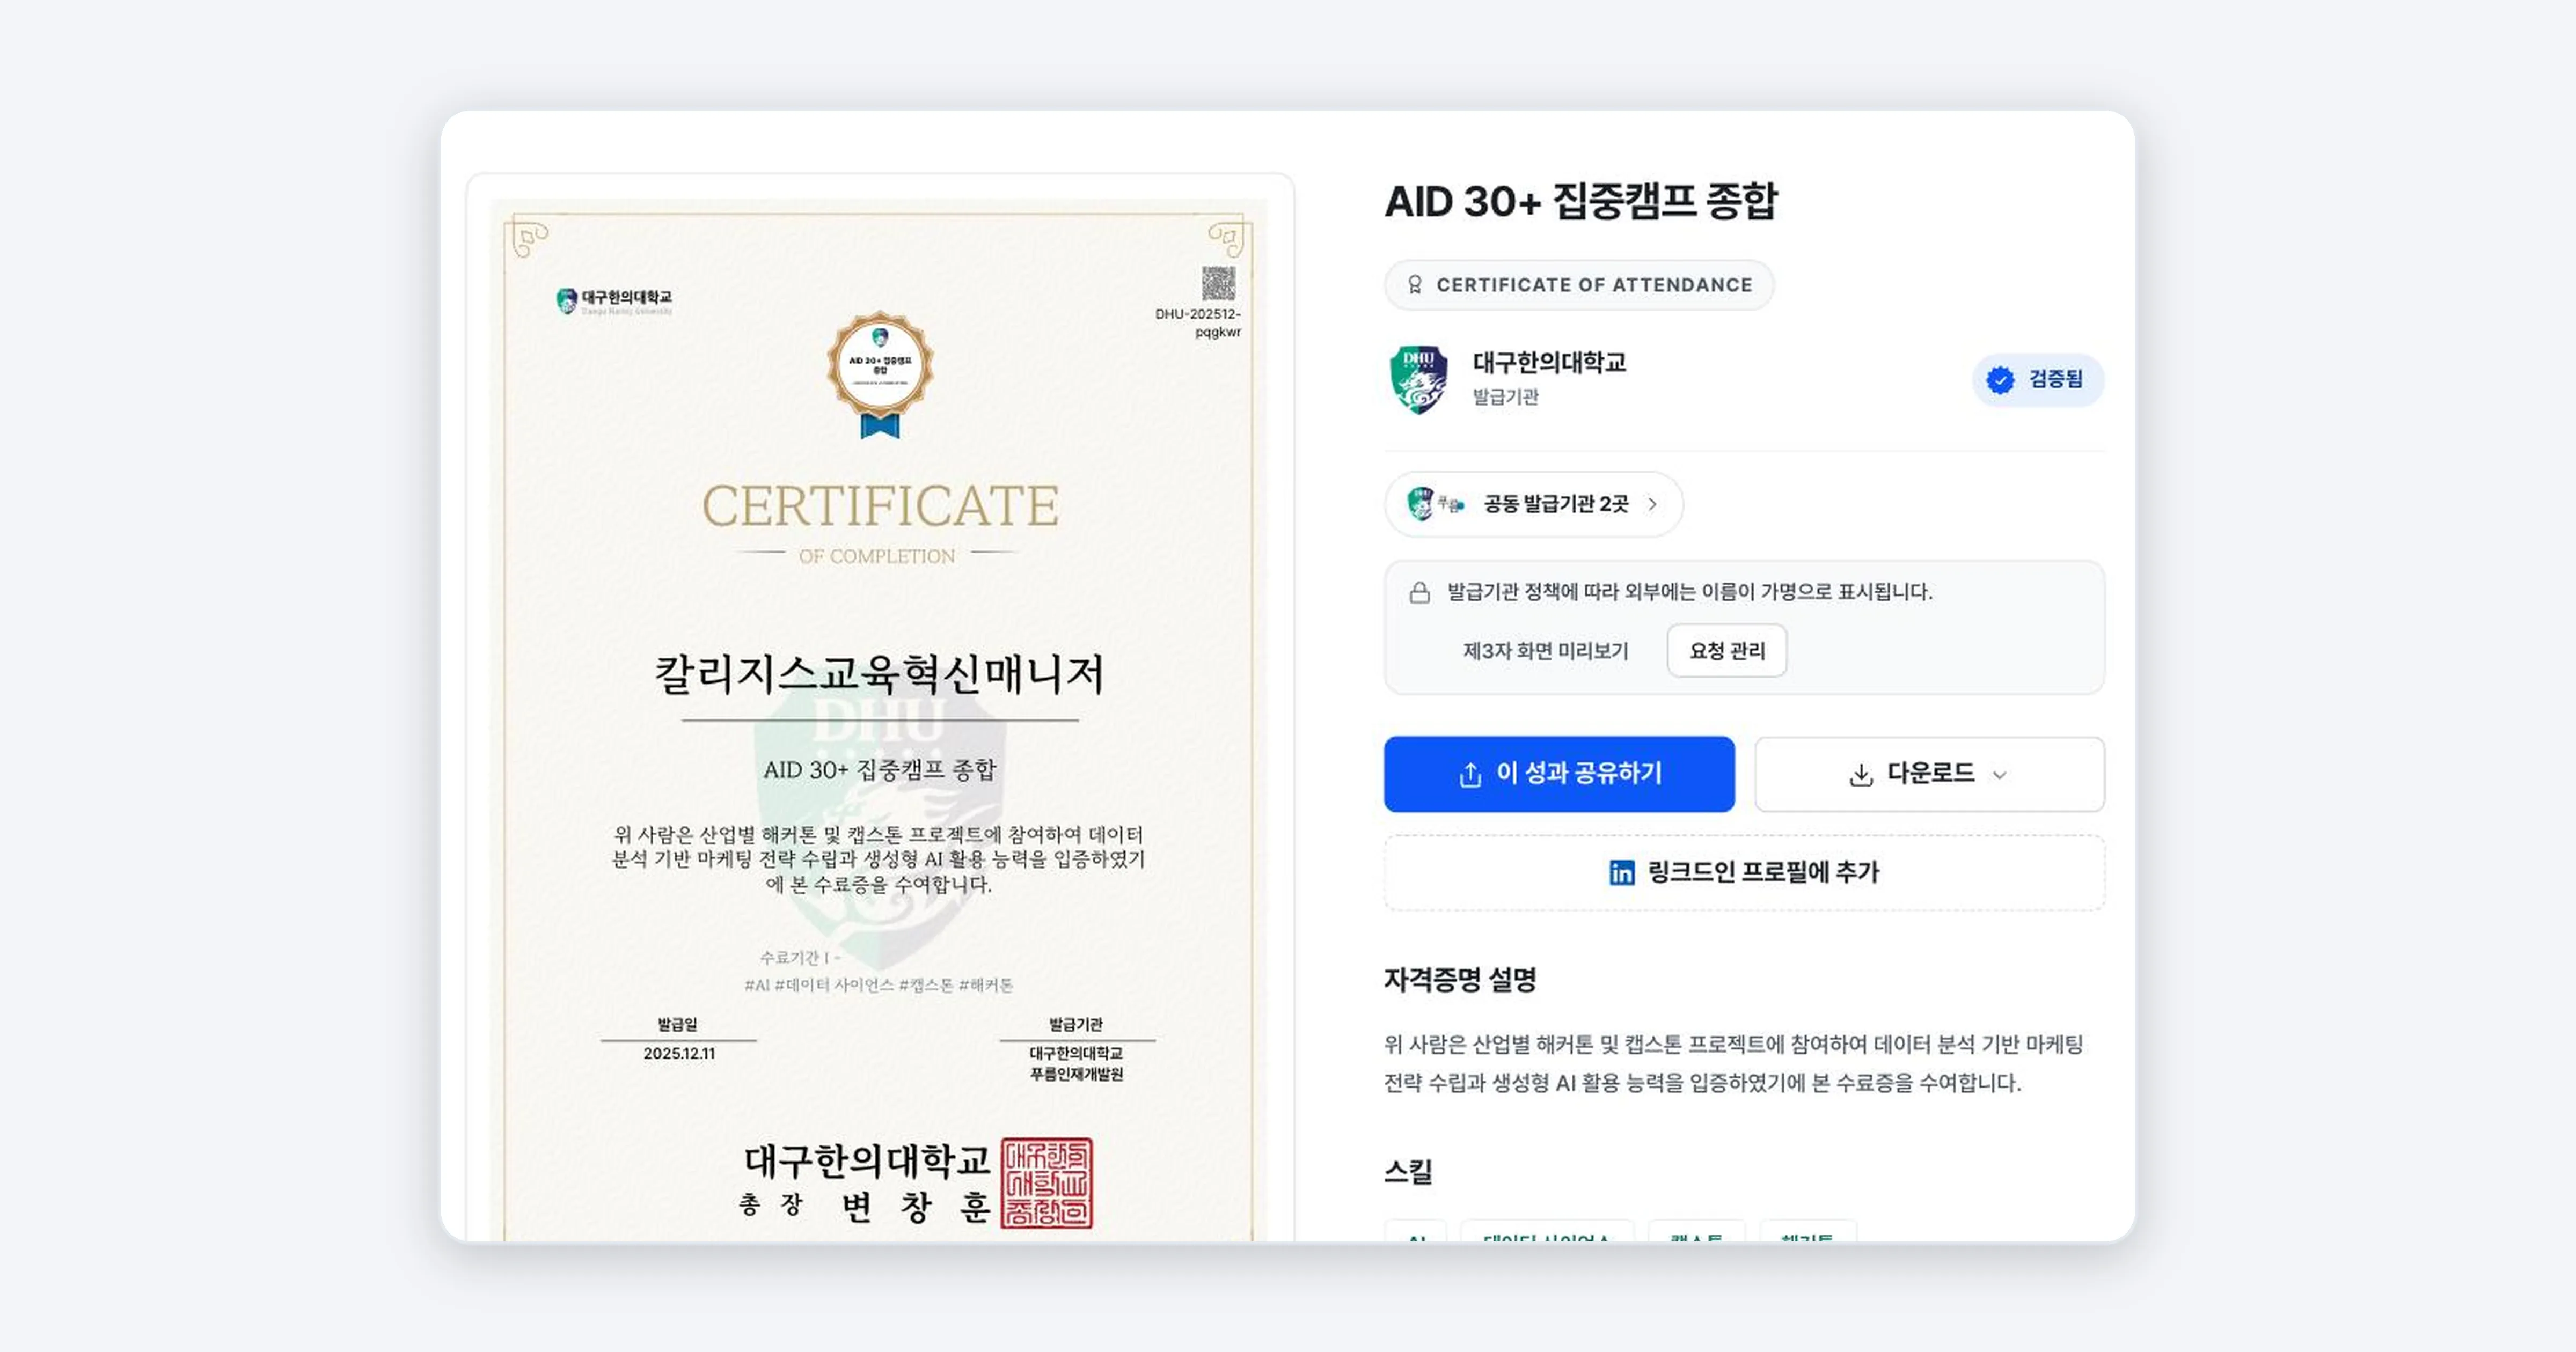
Once verification is finished, the certificate screen opens. You can check the badge details right on this screen.
Confirming it worked
If you see the issuer name and the “Verified” mark at the top right of the certificate screen, the badge has been received successfully. From this point on, the badge is stored permanently in your wallet.
Troubleshooting
I didn’t get the email or the KakaoTalk notification message Check your spam and promotions folders first. If it still isn’t there, the email address or mobile number registered with the issuer may differ from yours. If you received it at a different contact, you can bring it in by verifying that contact under [Import other badges] in your wallet. (For details, see the Import Other Badges guide.)
Identity verification keeps failing The mobile phone used for KakaoTalk simple verification must be registered under the same name as the intended recipient. If the name differs, ask the issuer to check your registered information.
I don’t know what this badge is It is a legitimate process the issuer used to certify something such as completing a course or taking part in an activity. After receiving it, you can check the earning criteria and the issuer on the certificate screen.
Related guides
- Exploring Your Badge Wallet - Manage the badges you have received in one place
- Checking the Badge Detail Page - Check the earning criteria and the issuer
- Sharing Your Digital Badge - Put the badges you receive to work on your resume and social media
Frequently asked questions
Want to turn learning outcomes into verifiable assets?
From issuing to verifying and amplifying, see it for yourself with Kolleges.
Request a Kolleges demo
Related posts
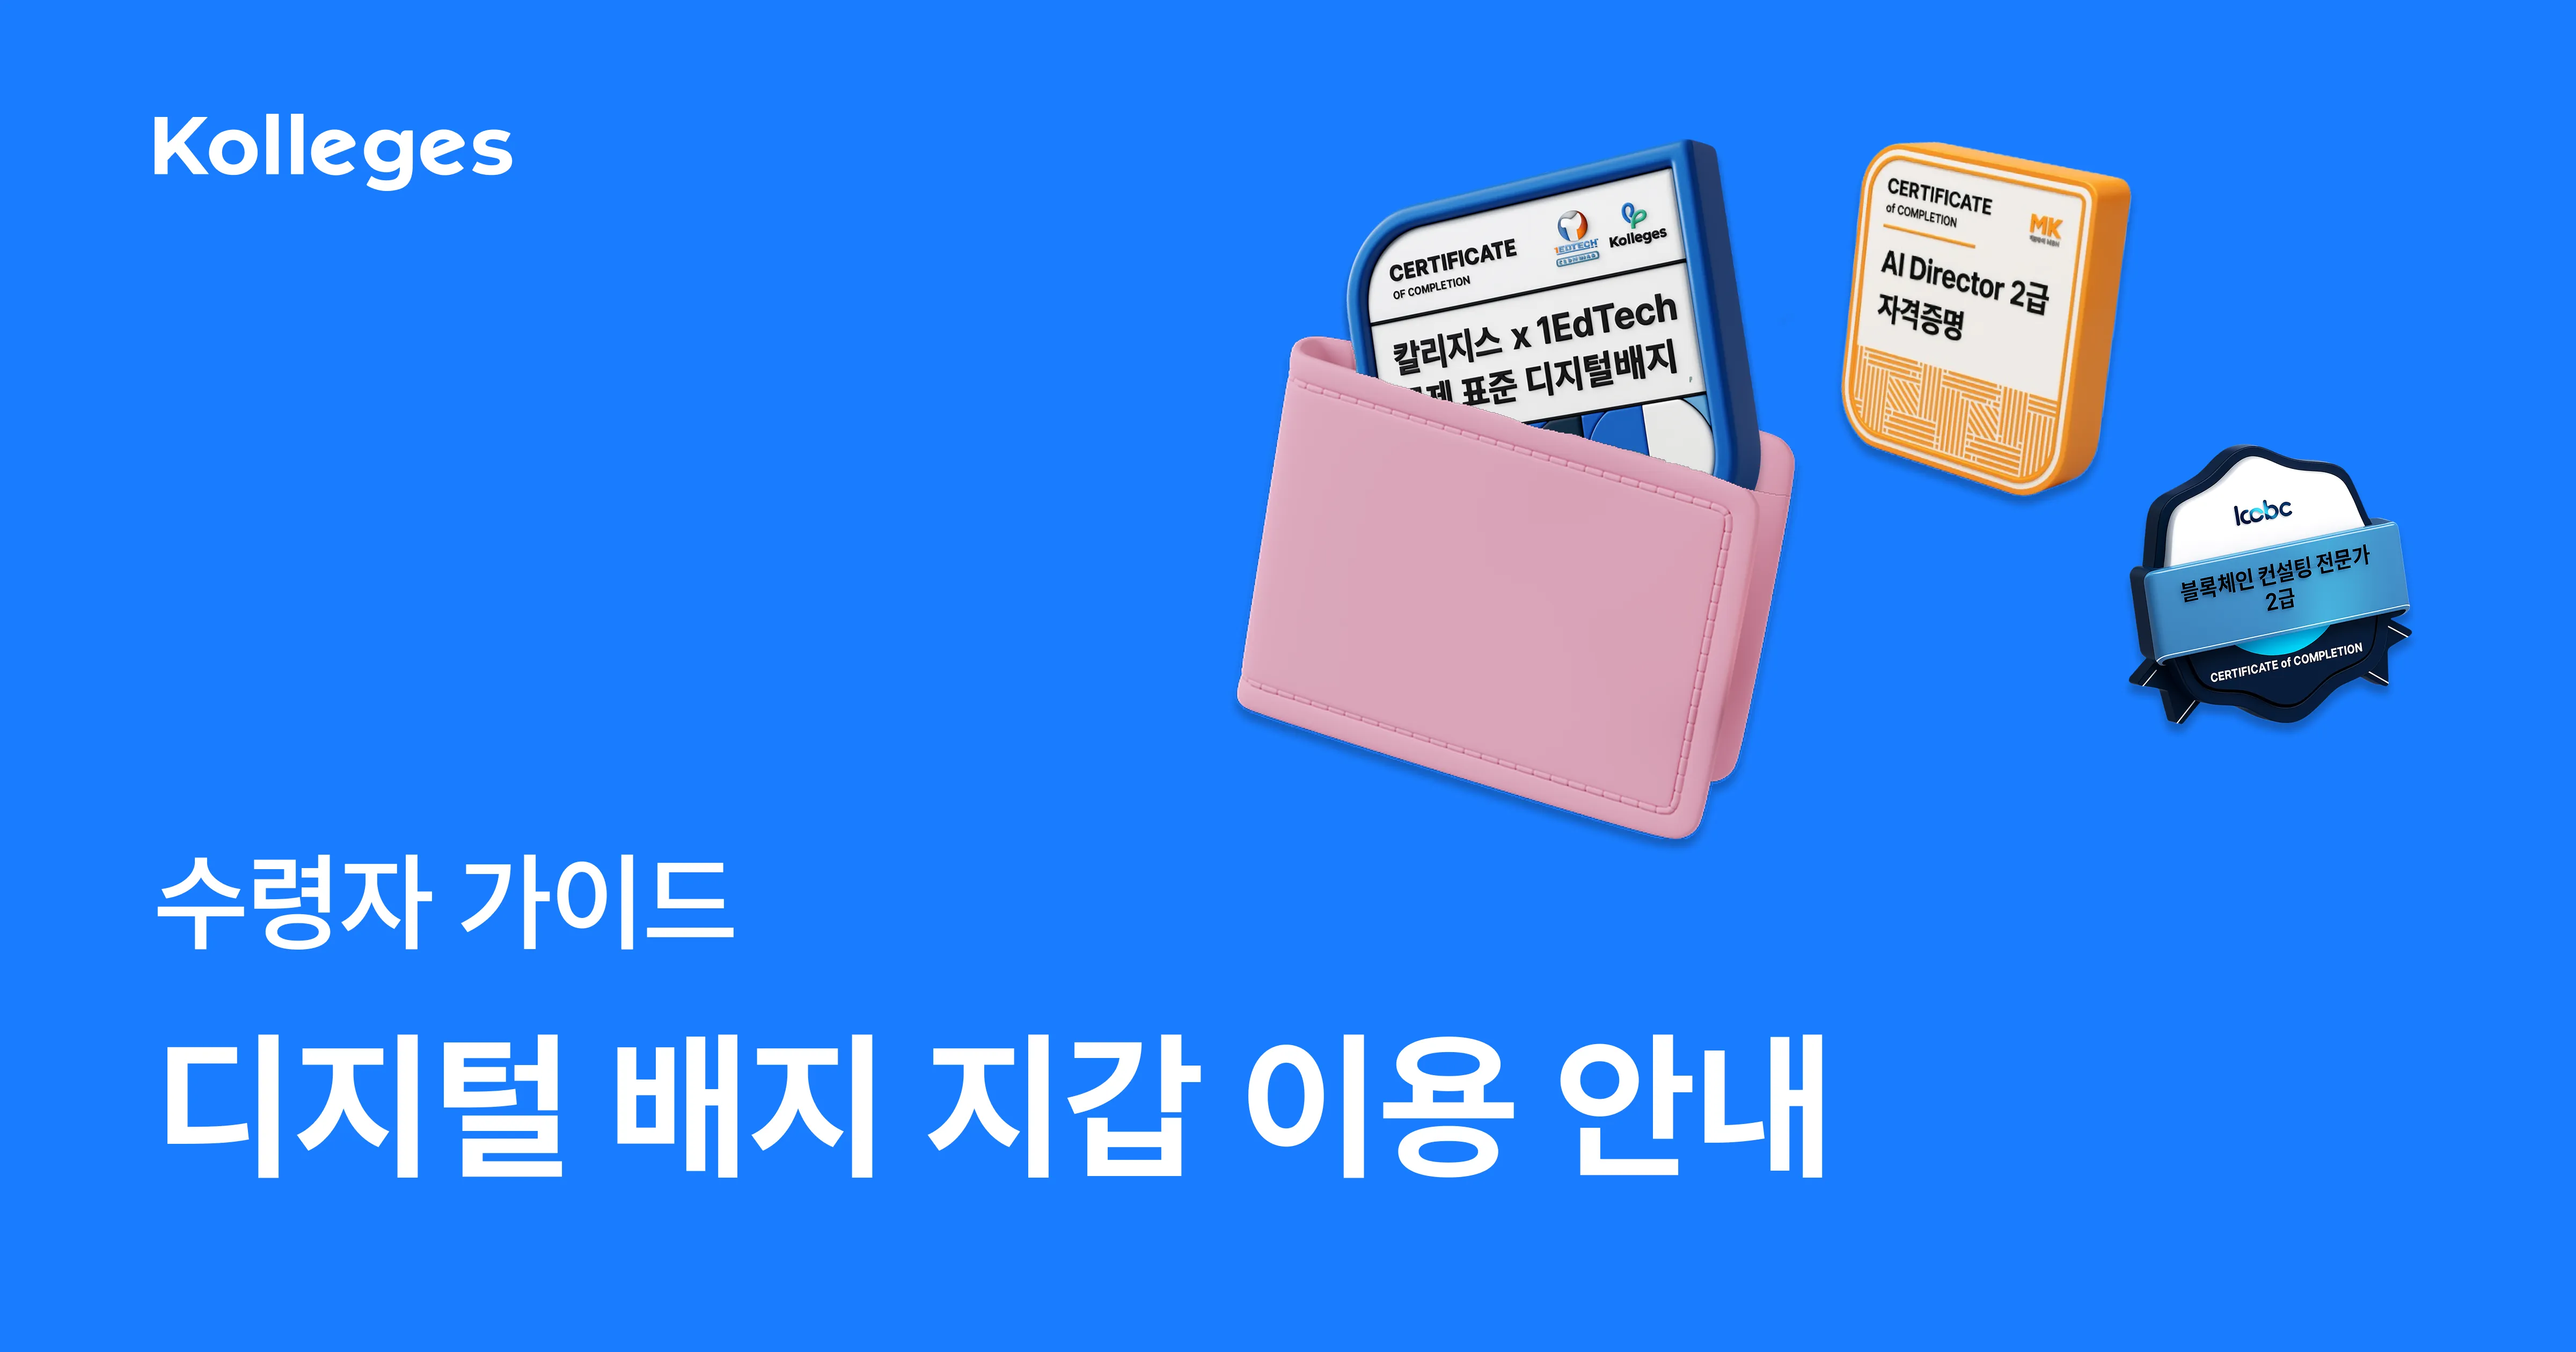
Exploring Your Badge Wallet
The badge wallet is the space that stores every digital badge you have received. Enter it by pressing [My Wallet] in the profile menu at the top right of the screen, then press a badge card to see its details or share and download it right away.
Checking the Badge Detail Page
The badge detail page shows every piece of information about a certificate: issuer, issue date, issuing criteria (earning criteria), skills, and co-issuers. Use the [Certificate] / [Badge] tabs on the left to switch between the two images.
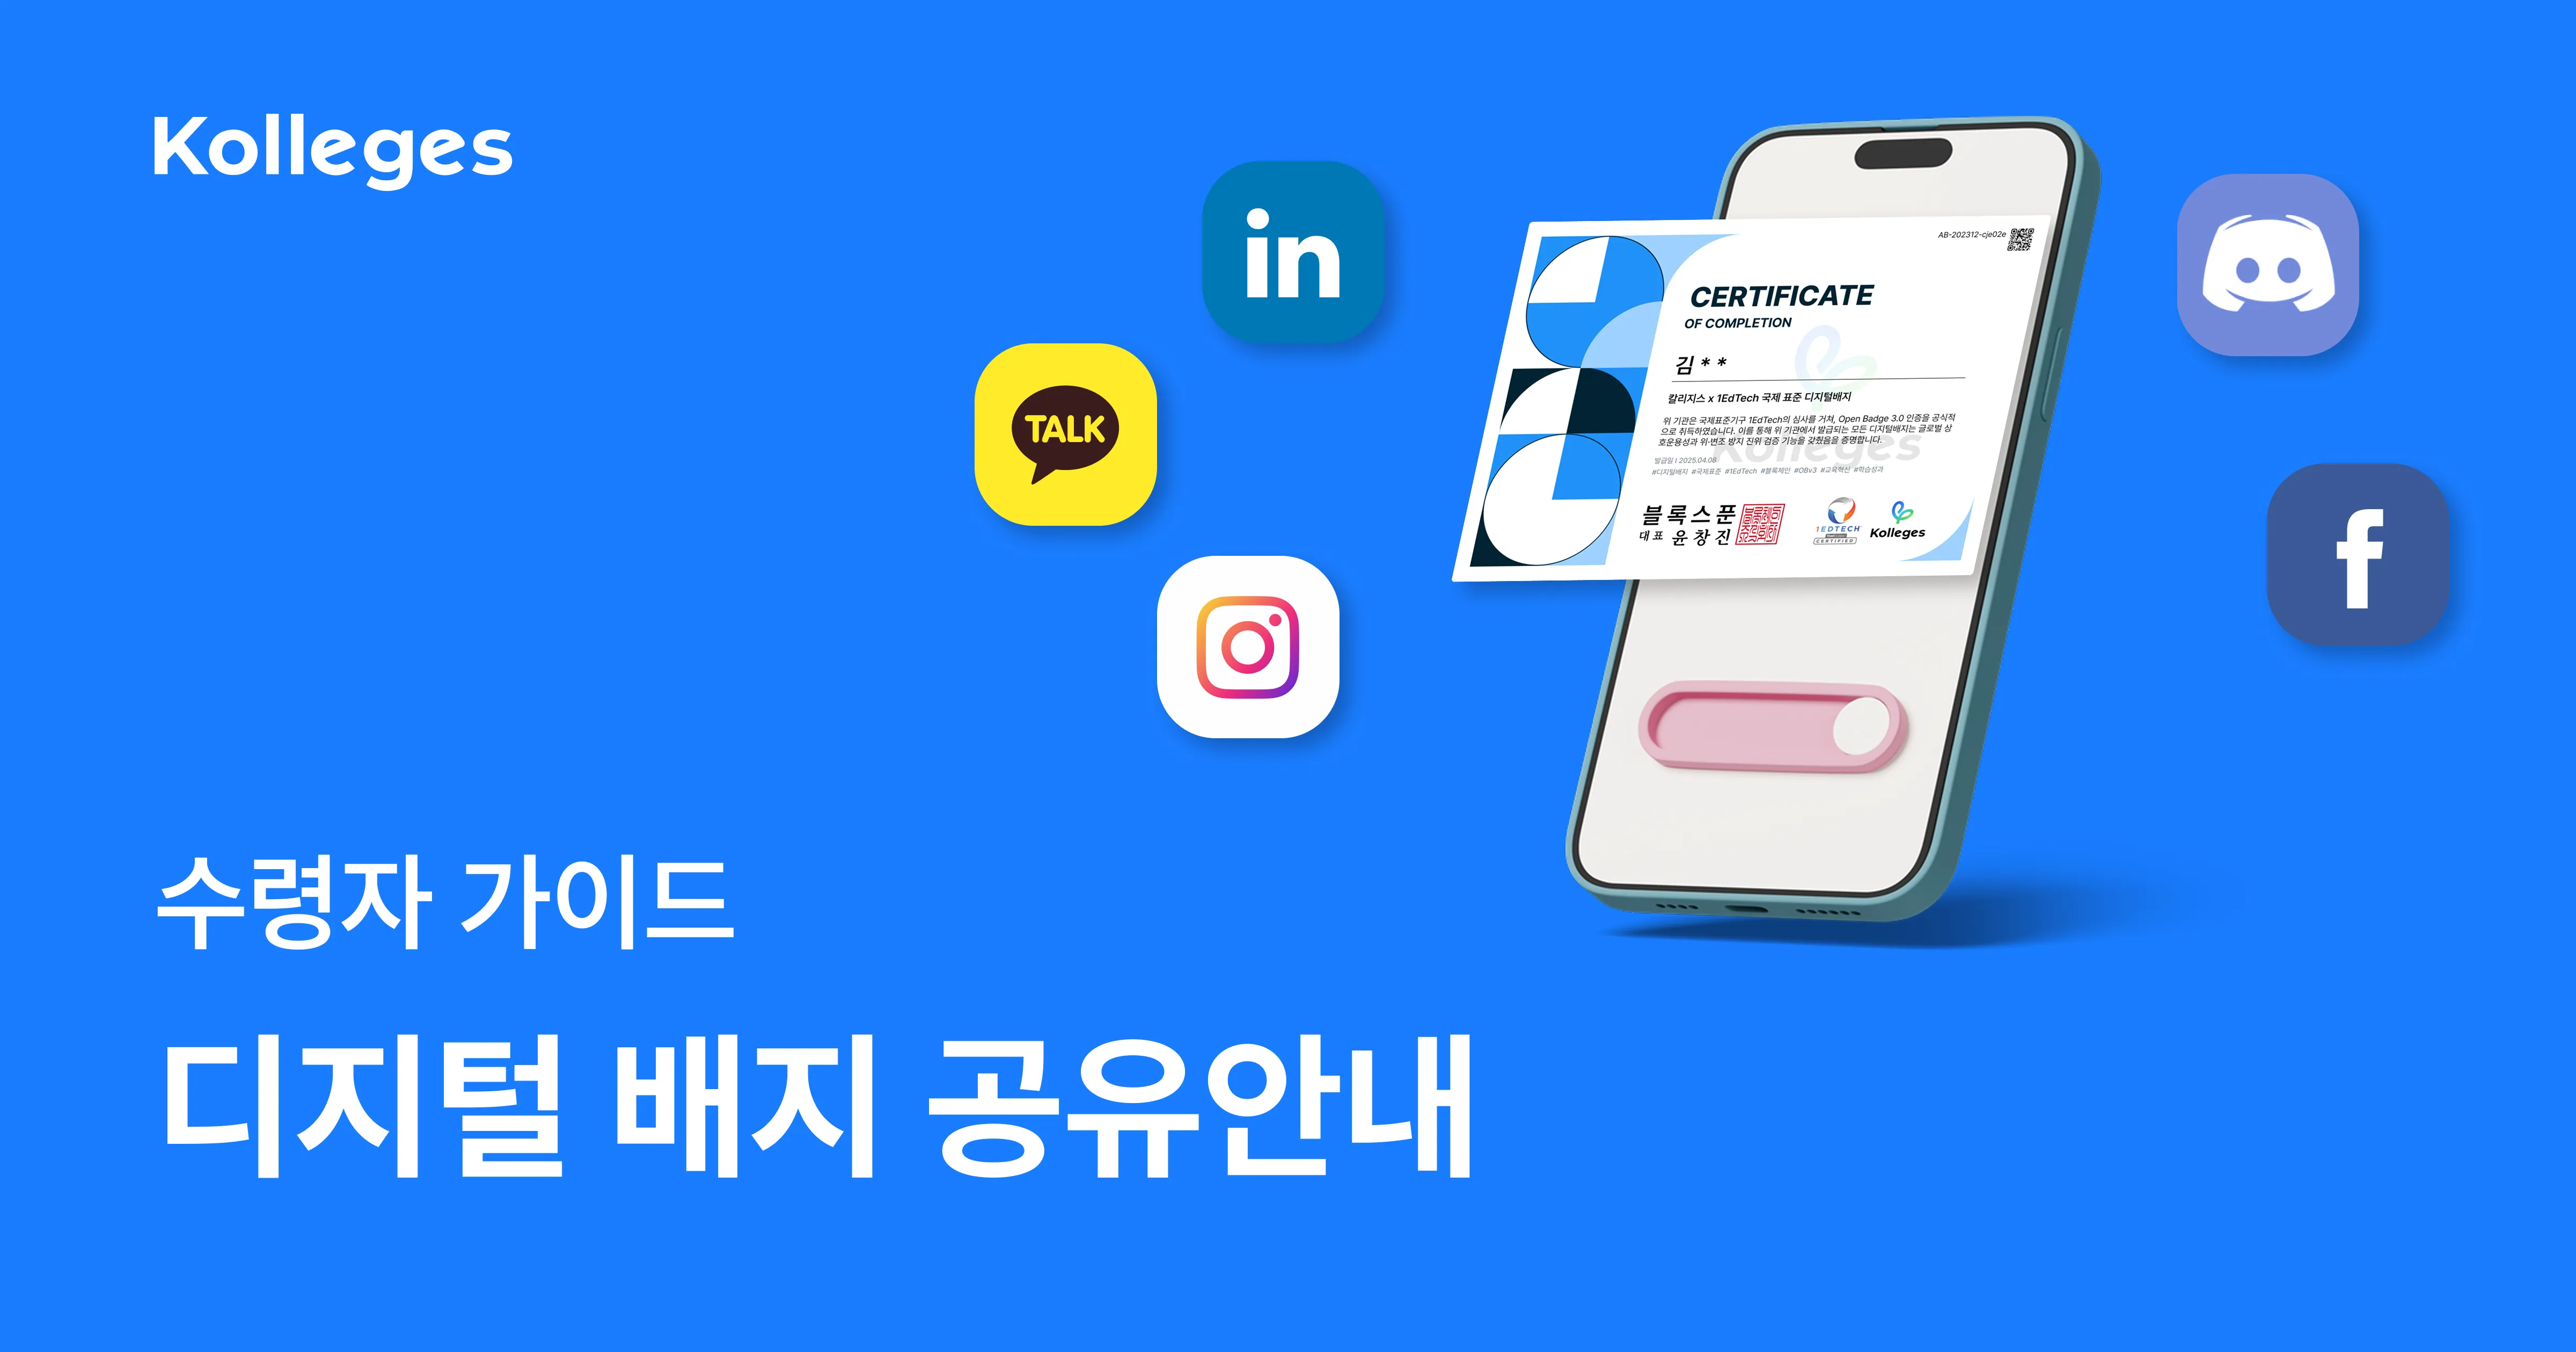
Sharing Your Digital Badge
Tap the [Share this achievement] button on the badge detail page to share directly to LinkedIn, Facebook, or KakaoTalk, or copy the link and save the QR image to show your badge anywhere.