
Guide
Step-by-step guides from adoption review to operations - ready for real-world use.

Inviting Members and Managing Roles
On the Members tab of the Workspace menu, invite colleagues by email and check or adjust how far each role can reach.

Admin FAQ
Frequently asked questions from admins, from workspace setup through issuance and plans. For detailed procedures, see the guide linked from each answer.
Creating an API Client
Create an API client in the Developer menu by setting a name and permissions, and your institution's systems can issue and query certificates through the Kolleges API. The secret is shown only once right after creation, so save it immediately.
Creating a Badge Design
Pick a template in the Design menu, set the color and icon, then save to complete your badge design. On what you actually issue, the issuer symbol is placed in the center automatically.

Creating a Board and Linking It to the Menu
Create a board on the Boards tab of your institution page, then link it on the Menu tab and it appears on the public page.
Listing Certificates in the Catalog
Creating a certificate registers it in your institution page catalog automatically. You only toggle its visibility and the application path.
Creating a Certificate
Press Create certificate in the Certificates menu and fill in the basic information and advanced settings, and it is ready to issue. There is also a feature where AI drafts it for you from course information alone.

Creating a Certificate Design
Pick a template in the Design menu, set the color and institution brand, then save to complete your PDF certificate design. Logos and seals are placed automatically once registered in your issuer settings.

Issuing Badges and Certificates
Press Issue in the certificate list and fill in recipients, common information, per-recipient information, and issuance options in order to complete issuance. One person or hundreds are handled on the same screen.
Adding a Co-Issuer
From Add issuer on the issuer screen, choose one of three methods to register another institution as a co-issuer.
Taking a Tour of the First Screen
When you first create a workspace, a five-step getting-started guide appears on the dashboard. Following it in order takes you from issuer verification through your first issuance to opening your institution page, all in one pass.

Styling Your Institution Page
On the Site settings tab of your institution page, manage search text, header style, brand color, logo, and even a custom domain, all from one screen.

Requesting Issuer Verification
Press Proceed with verification on the issuer screen, and once domain email authentication and institutional document submission are complete, your verification review is filed.

Checking Issuance Results
On the issuance status screen you can check delivery and validity together. Items with problems are automatically collected at the top of the screen.

Checking and Changing Your Plan
In the Plan and billing menu, check this year's issuance volume and move the slider to the annual volume you need, and the matching plans and prices are compared immediately.
Creating a Pathway
A feature for bundling several certificates into steps so that completing all of them issues a higher badge. Choose between automatic issuance and admin approval.
Setting Up Recommendations
A feature that automatically suggests the next program to recipients of a particular badge. You only choose the trigger badge and what to show.

Handling Non-Delivery and Reissuing
When an email bounces, an Issuance failed panel appears automatically at the top of issuance status. From there you can resend one at a time or all at once.

Canceling and Revoking Certificate Issuance
Mistakenly issued items can be revoked from issuance status. A revocation reason is required, and revocation is shown as a proper revocation rather than tampering.

Creating a Workspace (Institution)
Fill in the two steps under Create a new institution and your workspace is created, with the person who created it as the owner. A 30-day free Premium trial begins at the same time.
Deleting a Workspace
Deleting a workspace removes all members' access and hides the workspace. Already issued certificates and verification pages are preserved permanently.

Joining an Existing Workspace
Open the link in the invitation email sent by an admin and press Accept invitation to become a member of that workspace. You must be logged in with the account that was invited.

Editing Workspace Information
On the General tab of the Workspace menu, rename your institution or hand ownership to another member. Changing the address requires contacting customer support.
Verifying the Authenticity of a Digital Badge
Pressing [Verify credential] on the badge detail page instantly confirms authenticity without the issuer's server. With just an issue code, verification link, or QR code, third parties such as recruiters can verify it themselves at [Credential Lookup].
Downloading and Printing a Certificate
Press the [Download] button on the badge detail page and you can choose between Save as PNG image and Save as PDF document. The PDF carries a verification QR and URL, which makes it suitable for printing and submission.
Import Other Badges
From [Import other badges] at the bottom of your wallet, you can import a badge you received at another email by verifying that email, and a badge from another platform (Credly, Badgr, and the like) as an Open Badge file or URL.

Sharing Your Digital Badge
Tap the [Share this achievement] button on the badge detail page to share directly to LinkedIn, Facebook, or KakaoTalk, or copy the link and save the QR image to show your badge anywhere.

Exploring Your Badge Wallet
The badge wallet is the space that stores every digital badge you have received. Enter it by pressing [My Wallet] in the profile menu at the top right of the screen, then press a badge card to see its details or share and download it right away.
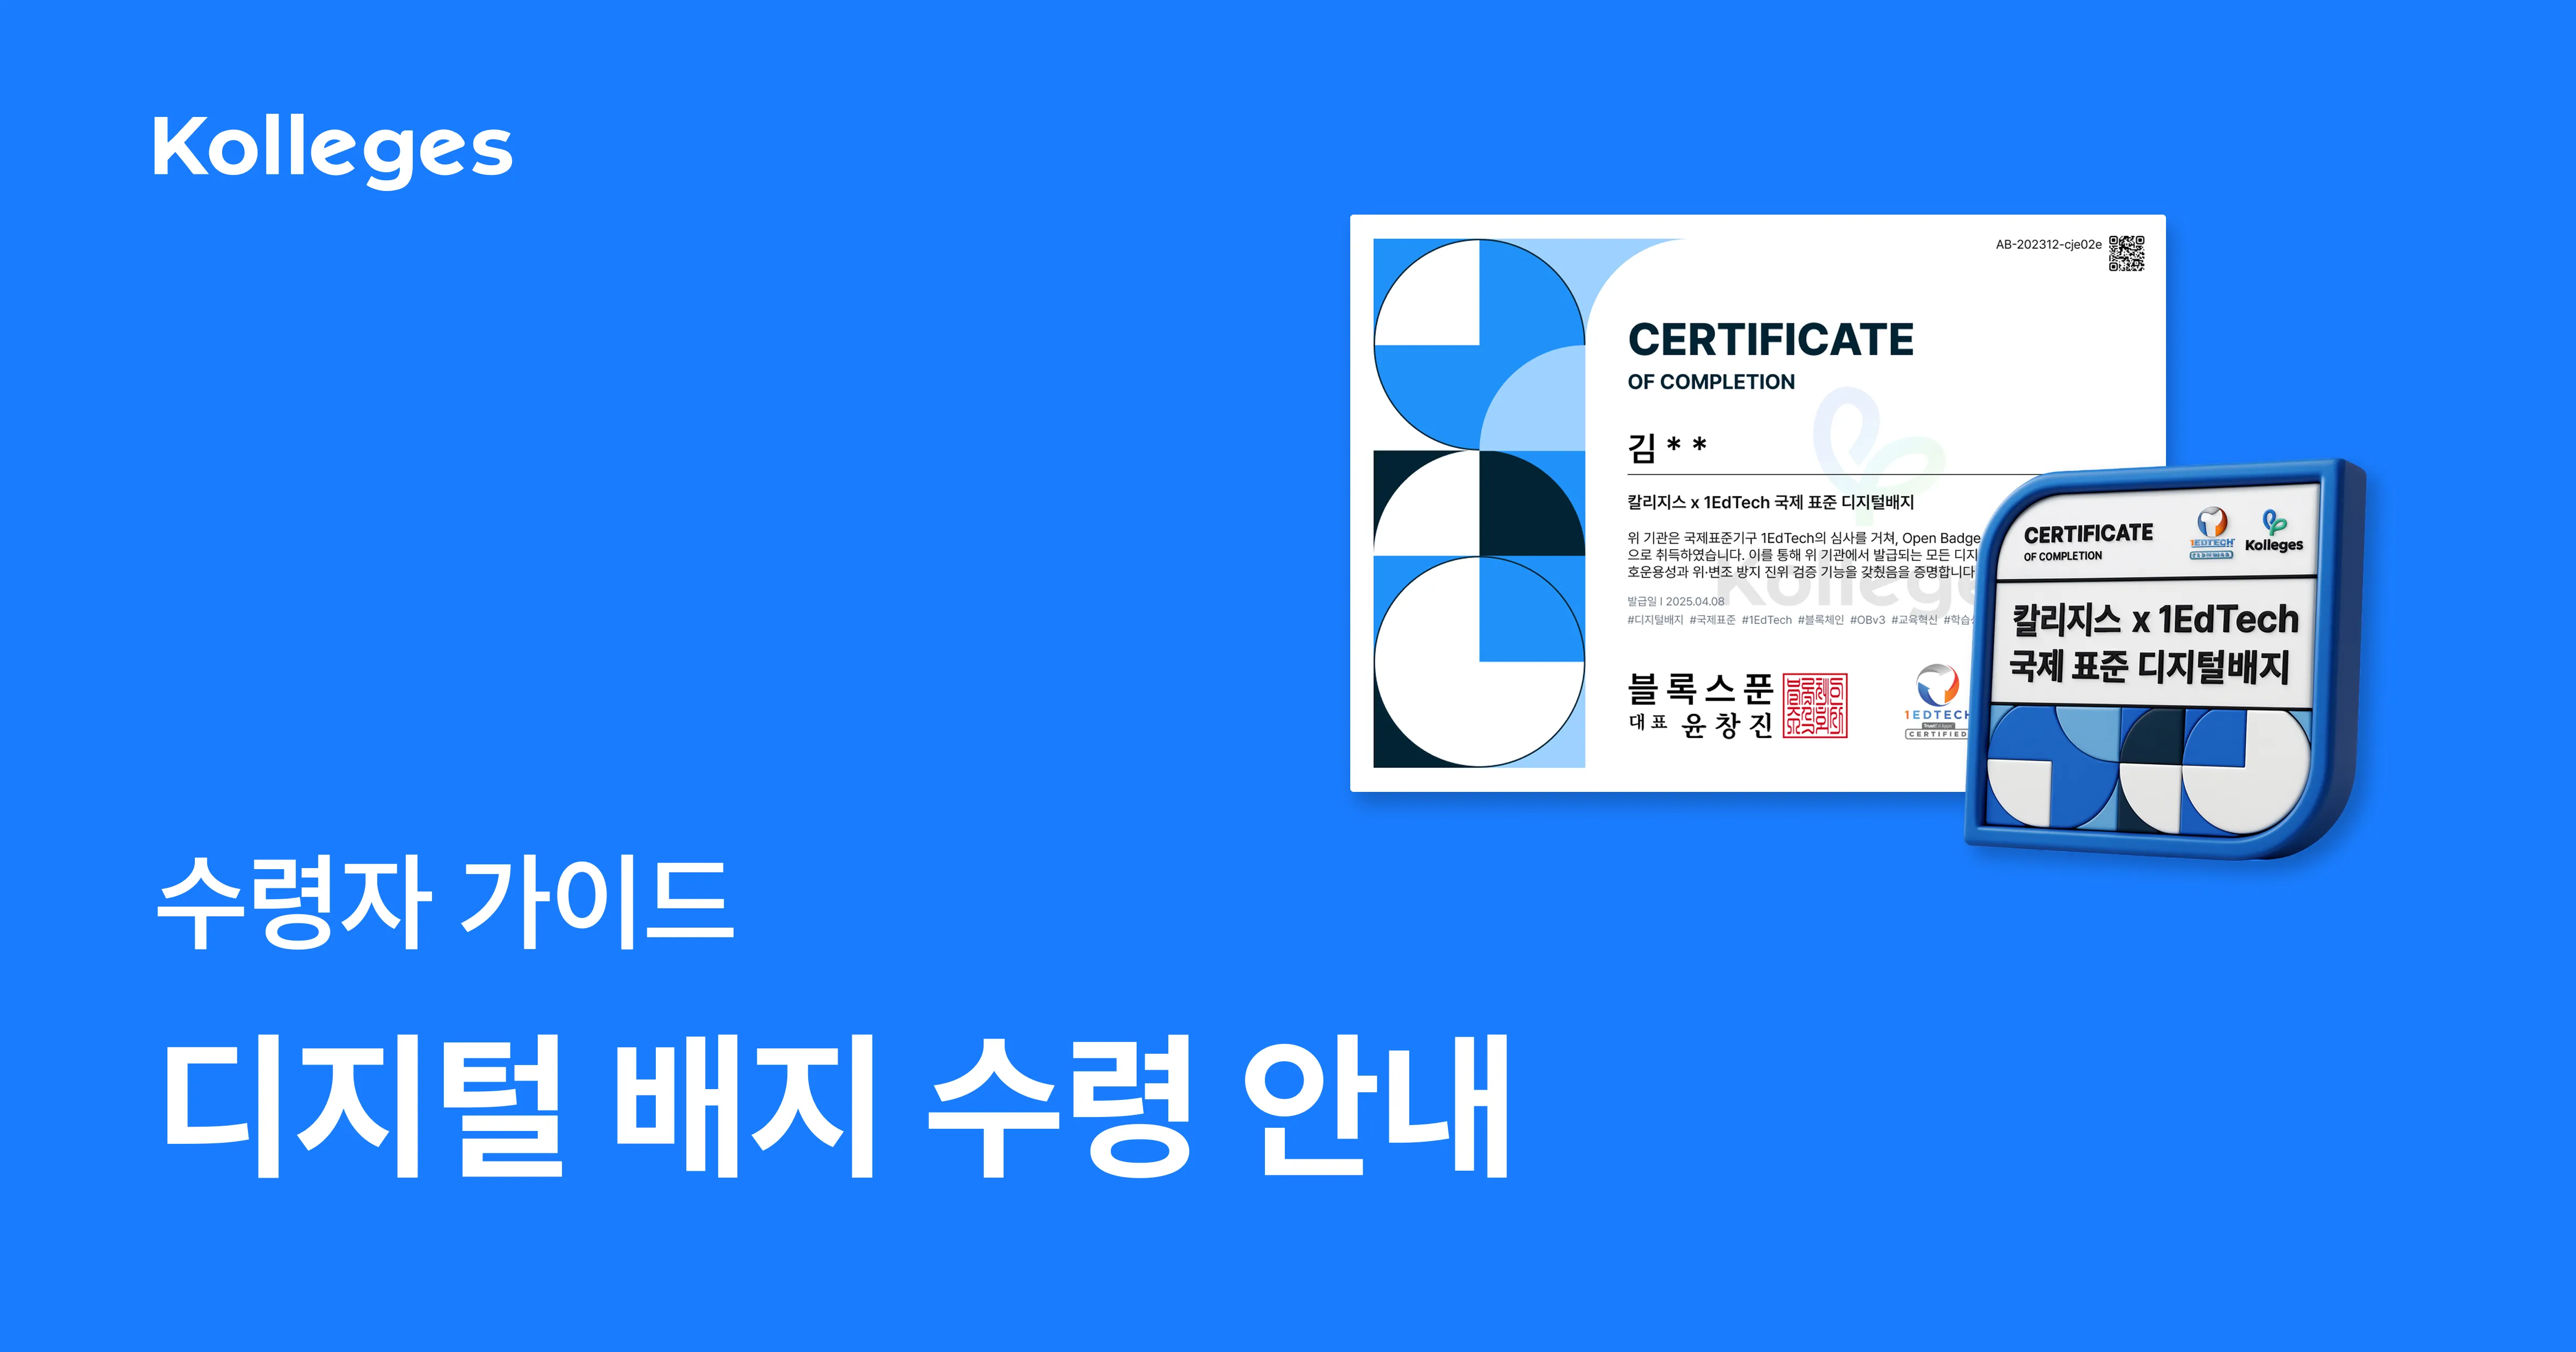
Receiving Your Digital Badge
Press [Receive] in the email or [View certificate] in the KakaoTalk notification message, then complete identity verification, and your digital badge is stored permanently in your wallet. It takes about a minute.

Adding a Badge to Your LinkedIn Profile
Press the [Add to LinkedIn profile] button on the badge detail page and the LinkedIn certifications screen opens with the name, issuer, issue month and year, and certificate URL filled in automatically. Check the details, save, and you're done.

Checking the Badge Detail Page
The badge detail page shows every piece of information about a certificate: issuer, issue date, issuing criteria (earning criteria), skills, and co-issuers. Use the [Certificate] / [Badge] tabs on the left to switch between the two images.

Changing the Name on Your Digital Badge
The name shown on your digital badge is changed from the display name in your badge wallet. A three-step guide to replacing the email in the recipient field with your real name.

Recipient FAQ
The questions recipients ask most often, gathered in one place: what a digital badge is, whether it is secure, whether it expires. For the detailed steps, see the guide linked from each answer.
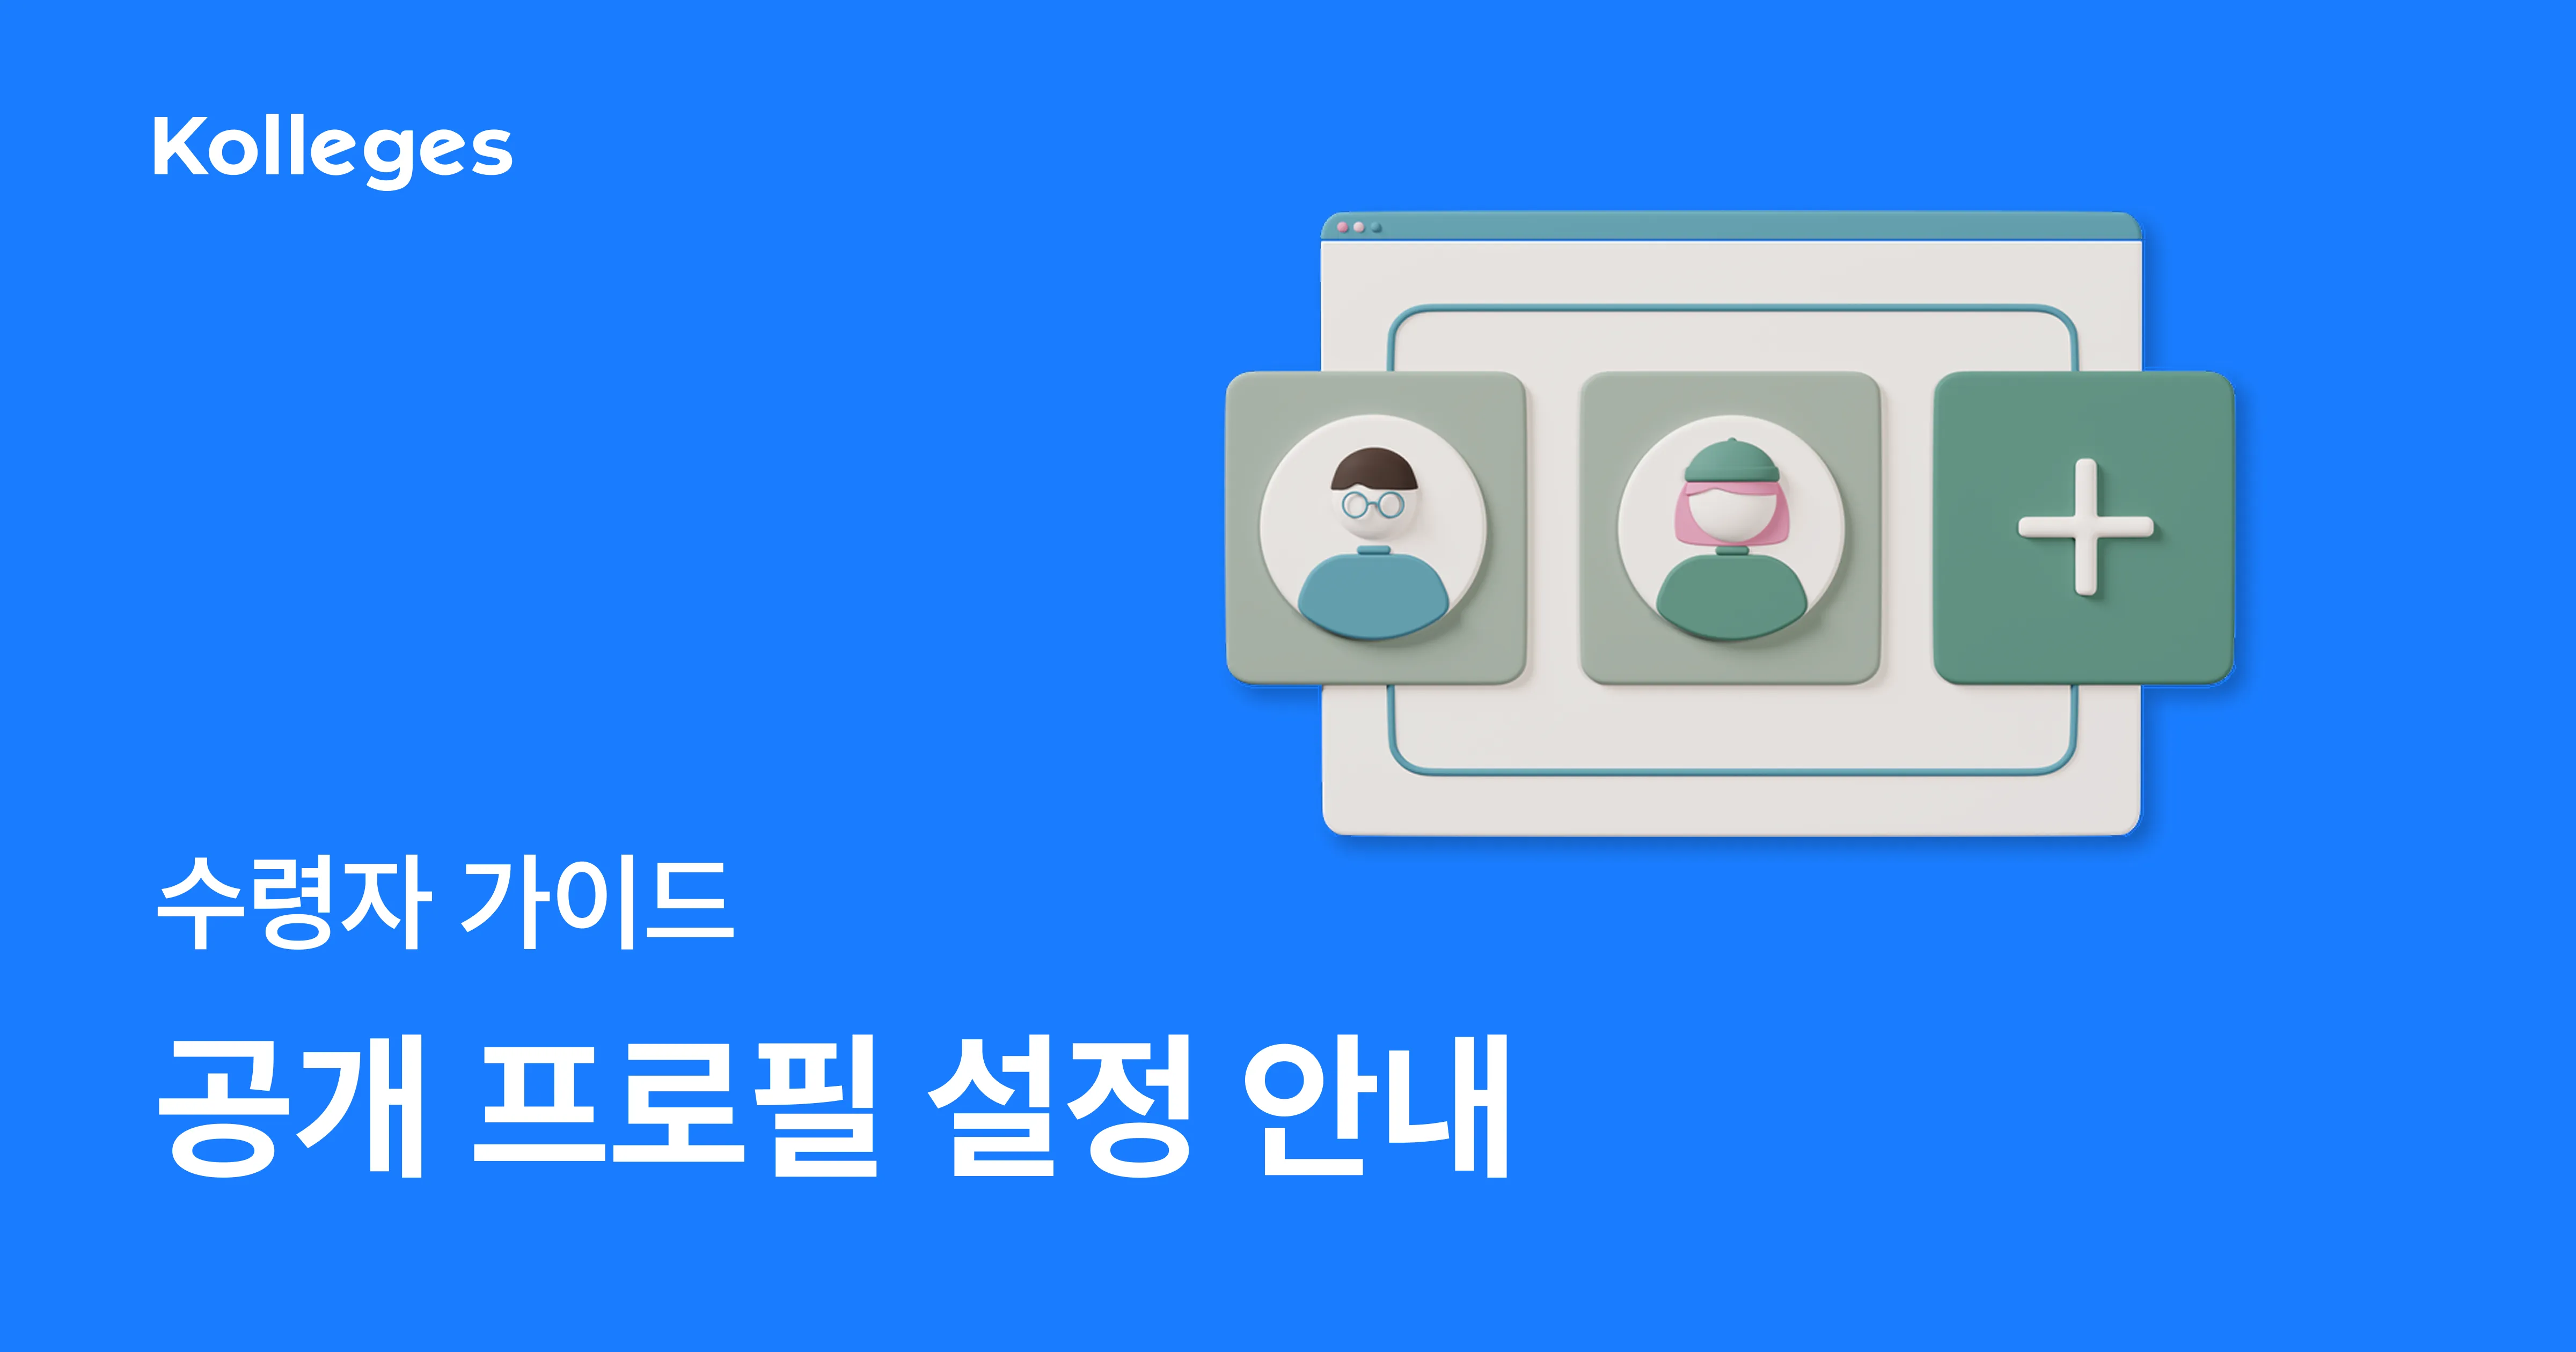
Creating a Public Profile and Setting Its Visibility
A public profile is a page that gathers multiple badges into a single link. In the settings you can choose the visibility (Public, Anyone with the link, Private), the profile address, per-badge visibility, and your display name.

Class Usage Guide: Key Features for Running Lessons and Courses
From the Class tab, apply for the class you want, and as you complete missions using the curriculum, assignments, and leaderboard, a badge is issued once you meet the reward conditions and can be viewed in your badge wallet.
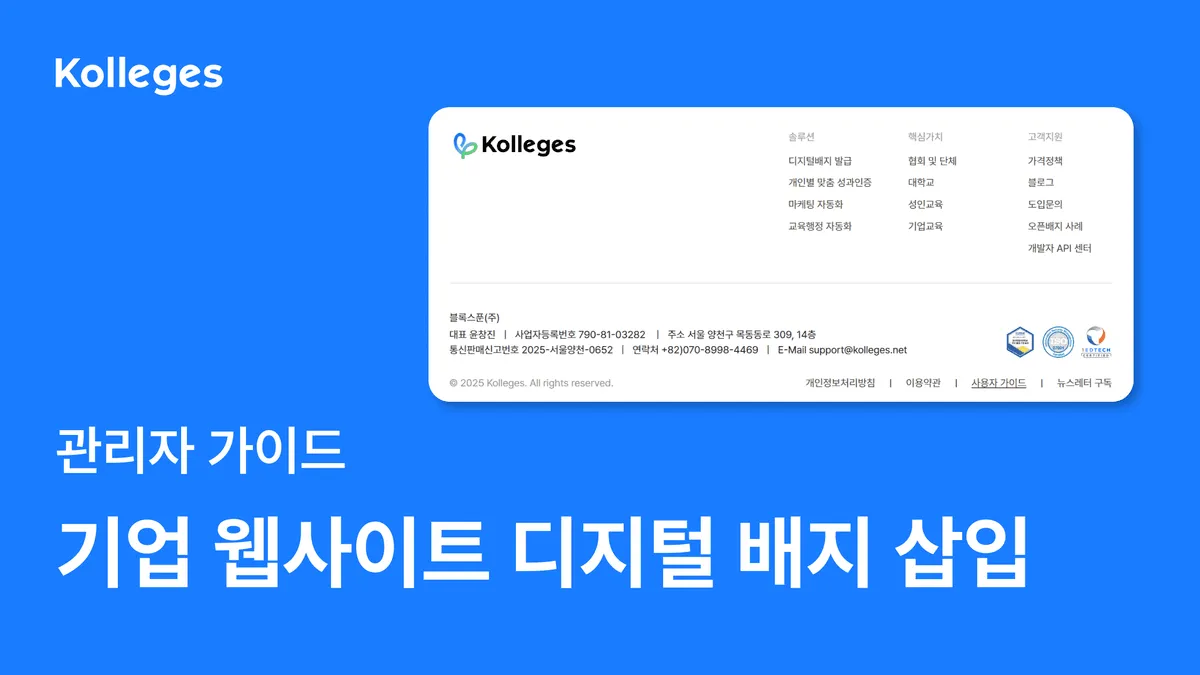
Getting 200% Out of Your Startup School Digital Badge
A practical 5-step guide to using the Startup School enrollment digital badge, from downloading the PNG to applying it as a certification mark in your website footer and careers page.

Custom Domain Address
This guide covers the 9-step DNS configuration procedure (adding A and CNAME records) for connecting an organization-owned domain as your homepage address in Kolleges, as well as how to disconnect it.

Menu Settings
In the Kolleges admin menu, create a new page, change its status to 'Connected', then add it to the menu and save to organize your homepage navigation into the structure you want.

Homepage Information Settings
A step-by-step guide to setting homepage basic information (group name, brand colors, logo, membership approval method, etc.) and business (footer) information from the Kolleges homepage management menu.
Start with our most-read posts.
See whether it fits your institution - in 10 minutes
From issuing to verifying and amplifying, see it live in a Kolleges demo.
Request a demo